Personalized Water Bottles
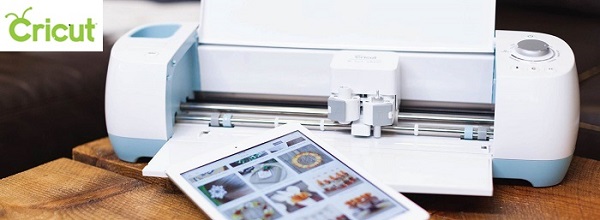
One of the very first projects that I tried with my Cricut cutting machine was personalizing and labeling water bottles with adhesive vinyl. It’s a fun and functional project. These personalized water bottles also make great gifts. Here’s the simple 3 steps needed to make your very own personalized water bottles.
3 Steps:
- Choose a Water Bottle
- Cut and Weed the Design
- Adhere to the water bottle

Choosing a Water Bottle
Ideally water bottles should be smooth to allow the adhesive vinyl to stick on really well. Smooth sided glass and metal water bottles work best. Smooth plastic also works well. I accidentally bought a textured water bottle once that did not allow for the vinyl to stick and the words kind of fell off, lesson learned. However, the textured water bottles work well with iron-on options.
Above are some great examples, which ship for free through Amazon. I personally have bought and used the clear glass ones for gifts as seen in the pictures and I highly recommend them. A lot of my kids’ water bottles I got affordable at Ross and recommend checking them out as well for some cheaper options.
Cut and Weed the Design
I like choosing a meaningful quote and matching graphics. It’s also nice to really personalize the gift you’re making by adding the recipient’s name. The Cricut easily cuts even intricate vinyl pictures, words, and designs. I prefer glitter adhesive vinyl because it’s so pretty and fancy, but will use plain vinyl for men, like my husband and father.
The best thing about Cricut design space is that you can get online images from the web and Pinterest and easily cut it using the Cricut. Below is a YouTube video showing you how to make cut files from pictures step-by step.
Below are some options for SVG cut files you can buy on Etsy. Plus Cricut already comes with lots of ready-made options as well. Some are available with your machine and others are for purchase.
Once cut by the Cricut you need to weed out the unwanted areas.

This is using my mom’s lighted tracing pad to help with the weeding process. Cricut sells one that is beautiful and awesome looking with a more consistent light than this one.
Amazon has a few options as well, which I have not tested out.
Can I make this by hand?
For Christmas my Grandfather requested “Good Luck Jimmy” on the back of a red fleece vest in preparation for his Las Vegas trip. Let me tell you how much LONGER it took to cut out the vinyl by hand because I didn’t have my Cricut with me on my trip home. I printed the words out in bold script on plain paper. Then, I taped the edges directly onto the vinyl and cut it out with small scissors. HOURS later I was done and all I could think is how much faster and easier it would have been if I had my machine. So, it is possible to do this project by hand. Just print out your design and cut out of vinyl, but I’m hopefully never going to cut out another design by hand again!

This is the word file that was printed out on plain paper and adhered to the glitter vinyl. The words were very big and bold to help make it easier to cut.
Adhere to the Water Bottle
Using transfer tape the design is then transferred to the water bottle. I usually prep the surface by rubbing it down with alcohol first. The personalized water bottles are all done and ready for use!


Pleather Iron-on Update
This is a picture of black glitter iron-on placed on silver pleather bags. I think it turned out awesome and bolder. Whereas, the silver on the gold pleather bag was a little more subtler. Which do you prefer? See how I made them here.


The shopping links above are provided for your convenience with no obligation to buy. I am a Cricut, Etsy, and Amazon affiliate and may make a small commission if you choose to use the links above to buy products. All products that I used were bought by me and all opinions are my own.
Other Posts You May Enjoy:
Link to Cricut and Videos to learn all about their machines:
https://youtu.be/duBHGI9exo4
https://youtu.be/HNLxgH3Sc-4


